例程讲解22-Optical-Flow->absolute-translation 绝对平移变换
# 光流绝对平移变换示例
#
# 此示例显示使用OpenMV Cam通过将当前图像与先前图像相互比较来测量X和Y方向的平移。
# 请注意,在此模式下只处理X和Y平移 - 而不是旋转/缩放。

# 要有效地运行此演示,请将OpenMV Cam安装在稳定的底座上,
# 然后慢慢将其转换为左,右,上和下,并观察数字的变化。
# 请注意,您可以看到位移数字+ - 水平和垂直分辨率的一半。
import sensor, image, time

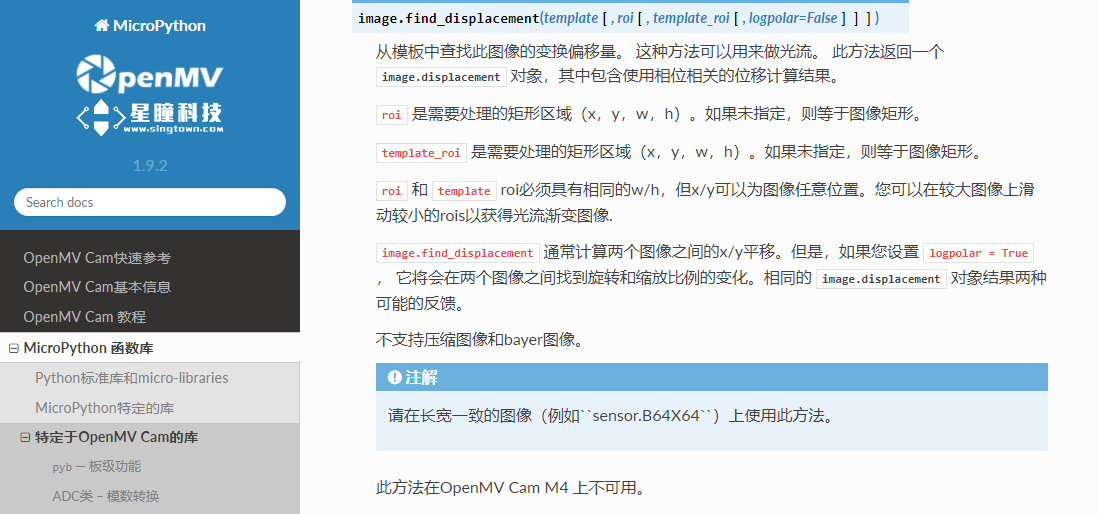
# 注意!!! 使用find_displacement()时,必须使用2的幂次方分辨率。
# 这是因为该算法由称为相位相关的东西提供动力,该相位相关使用FFT进行图像比较。
# 非2的幂次方分辨率要求填充到2的幂,这降低了算法结果的有用性。
# 请使用像B64X64或B64X32这样的分辨率(快2倍)。

# 您的OpenMV Cam支持2的幂次方分辨率64x32,64x64,128x64和128x128。
# 如果您想要32x32的分辨率,可以通过在64x64图像上执行“img.pool(2,2)”来创建它。

sensor.reset()                      # Reset and initialize the sensor.
sensor.set_pixformat(sensor.RGB565) # Set pixel format to RGB565 (or GRAYSCALE)
sensor.set_framesize(sensor.B64X64) # Set frame size to 64x64... (or 64x32)...
sensor.skip_frames(time = 2000)     # Wait for settings take effect.
clock = time.clock()                # Create a clock object to track the FPS.

# 从主帧缓冲区的RAM中取出以分配第二帧缓冲区。
# 帧缓冲区中的RAM比MicroPython堆中的RAM多得多。
# 但是,在执行此操作后,您的某些算法的RAM会少得多......
# 所以,请注意现在摆脱RAM问题要容易得多。
extra_fb = sensor.alloc_extra_fb(sensor.width(), sensor.height(), sensor.RGB565)
extra_fb.replace(sensor.snapshot())

while(True):
    clock.tick() # Track elapsed milliseconds between snapshots().
    img = sensor.snapshot() # Take a picture and return the image.

    # 对于此示例,我们从不更新旧图像以测量绝对变化。
    displacement = extra_fb.find_displacement(img)

    # 没有滤波,偏移结果是嘈杂的,所以我们降低了一些精度。
    sub_pixel_x = int(displacement.x_translation() * 5) / 5.0
    sub_pixel_y = int(displacement.y_translation() * 5) / 5.0

    if(displacement.response() > 0.1): # 低于0.1左右(YMMV),结果只是噪音。
        print("{0:+f}x {1:+f}y {2} {3} FPS".format(sub_pixel_x, sub_pixel_y,
              displacement.response(),
              clock.fps()))
    else:
        print(clock.fps())
