例程讲解-04-erode_and_dilate腐蚀膨胀
本例程为04-image-Filters-erode_and_dilate.py
此例程的目的是为了让大家更清晰的理解腐蚀和膨胀函数的效果。
# Erode and Dilate Example
#
# This example shows off the erode and dilate functions which you can run on
# a binary image to remove noise. This example was originally a test but its
# useful for showing off how these functions work.

import pyb, sensor, image

sensor.reset()
sensor.set_framesize(sensor.QVGA)

#设置阈值
grayscale_thres = (170, 255)
rgb565_thres = (70, 100, -128, 127, -128, 127)

while(True):

    sensor.set_pixformat(sensor.GRAYSCALE)
    for i in range(20):
        img = sensor.snapshot()
        #先对图像进行分割,二值化,将在阈值内的区域变为白色,阈值外区域变为黑色
        img.binary([grayscale_thres])
        #对图像边缘进行侵蚀,侵蚀函数erode(size, threshold=Auto),size为
        #kernal的大小,去除边缘相邻处多余的点。threshold用来设置去除相邻点的个数,
        #threshold数值越大,被侵蚀掉的边缘点越多,边缘旁边白色杂点少;数值越小,
        #被侵蚀掉的边缘点越少,边缘旁边的白色杂点越多。
        img.erode(2)
    for i in range(20):
        img = sensor.snapshot()
        img.binary([grayscale_thres])
        img.dilate(2)
        #对图像边缘进行膨胀,膨胀函数image.dilate(size, threshold=Auto),size为
        #kernal的大小,使边缘膨胀。threshold用来设置去除相邻点的个数,threshold数值
        #越大,边缘越膨胀;
        #数值越小,边缘膨胀的小。

    sensor.set_pixformat(sensor.RGB565)
    for i in range(20):
        img = sensor.snapshot()
        img.binary([rgb565_thres])
        img.erode(2)
    for i in range(20):
        img = sensor.snapshot()
        img.binary([rgb565_thres])
        img.dilate(2)
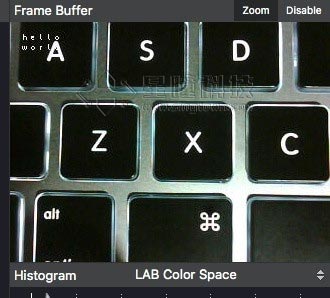
原图:

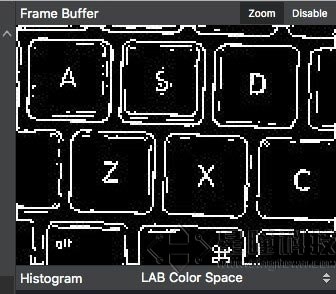
边缘检测后原图:

erode函数腐蚀后,可以看出图像的边缘不再明显,被黑色覆盖:

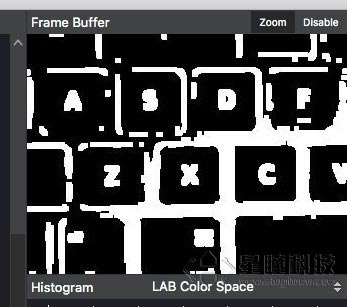
dilate函数膨胀后,边缘变粗:


