例程讲解18-MAVLink->mavlink_opticalflow 通过mavlink实现光流
import image, math, pyb, sensor, struct, time
uart_baudrate = 115200
MAV_system_id = 1
MAV_component_id = 0x54
MAV_OPTICAL_FLOW_confidence_threshold = 0.1
uart = pyb.UART(3, uart_baudrate, timeout_char = 1000)
packet_sequence = 0
def checksum(data, extra):
output = 0xFFFF
for i in range(len(data)):
tmp = data[i] ^ (output & 0xFF)
tmp = (tmp ^ (tmp << 4)) & 0xFF
output = ((output >> 8) ^ (tmp << 8) ^ (tmp << 3) ^ (tmp >> 4)) & 0xFFFF
tmp = extra ^ (output & 0xFF)
tmp = (tmp ^ (tmp << 4)) & 0xFF
output = ((output >> 8) ^ (tmp << 8) ^ (tmp << 3) ^ (tmp >> 4)) & 0xFFFF
return output
MAV_OPTICAL_FLOW_message_id = 100
MAV_OPTICAL_FLOW_id = 0
MAV_OPTICAL_FLOW_extra_crc = 175
def send_optical_flow_packet(x, y, c):
global packet_sequence
temp = struct.pack("<qfffhhbb",
0,
0,
0,
0,
int(x * 10),
int(y * 10),
MAV_OPTICAL_FLOW_id,
int(c * 255))
temp = struct.pack("<bbbbb26s",
26,
packet_sequence & 0xFF,
MAV_system_id,
MAV_component_id,
MAV_OPTICAL_FLOW_message_id,
temp)
temp = struct.pack("<b31sh",
0xFE,
temp,
checksum(temp, MAV_OPTICAL_FLOW_extra_crc))
packet_sequence += 1
uart.write(temp)
sensor.reset()
sensor.set_pixformat(sensor.RGB565)
sensor.set_framesize(sensor.B64X32)
sensor.skip_frames(time = 2000)
clock = time.clock()
extra_fb = sensor.alloc_extra_fb(sensor.width(), sensor.height(), sensor.RGB565)
extra_fb.replace(sensor.snapshot())
while(True):
clock.tick()
img = sensor.snapshot()
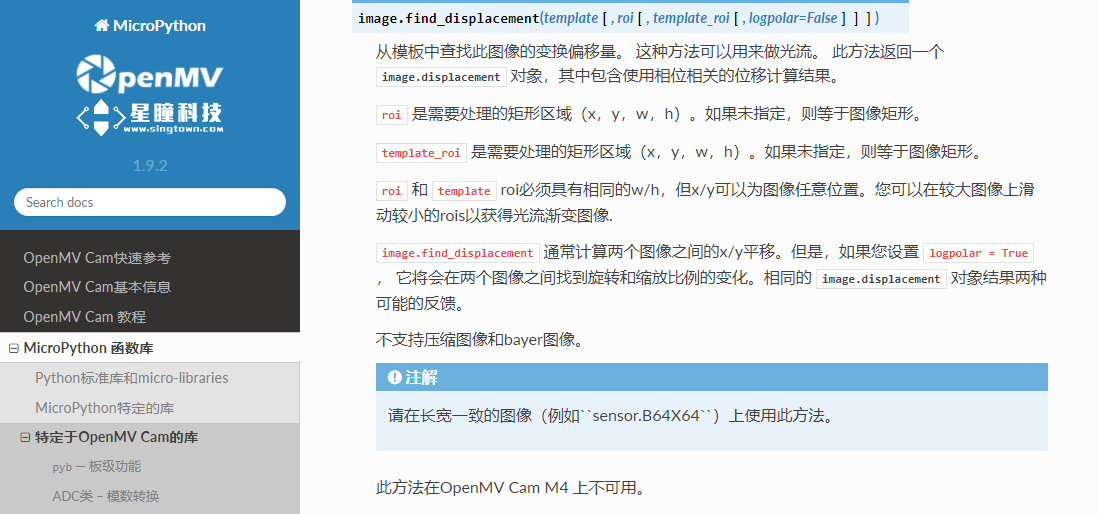
displacement = extra_fb.find_displacement(img)
extra_fb.replace(img)
sub_pixel_x = int(displacement.x_translation() * 5) / 5.0
sub_pixel_y = int(displacement.y_translation() * 5) / 5.0
if(displacement.response() > MAV_OPTICAL_FLOW_confidence_threshold):
send_optical_flow_packet(sub_pixel_x, sub_pixel_y, displacement.response())
print("{0:+f}x {1:+f}y {2} {3} FPS".format(sub_pixel_x, sub_pixel_y,
displacement.response(),
clock.fps()))
else:
print(clock.fps())
星瞳科技OpenMV官方中文文档函数讲解:

