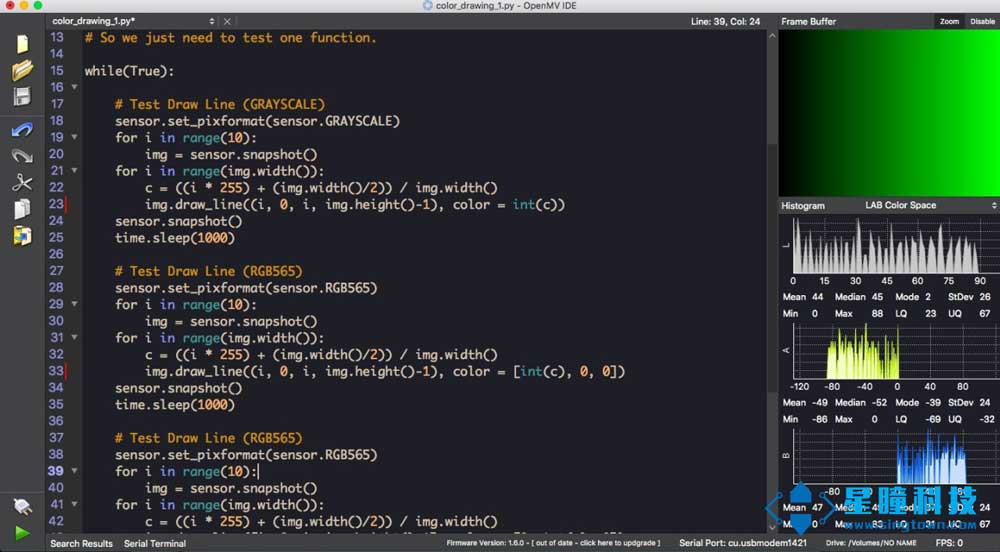
例程讲解-03-color_drawing在图像里画线!
本例程为03-Drawing-color_drawing.py
# Color Drawing Example
#
# 这个例子展示了如何使用OpenMV内置的画线功能。
# 这个例子只是一个原始的测试,但是是一个很好的参考。
# 请把IDE设置为non-JPEG模式来观看最清晰的质量。

import sensor, image, time #引入程序依赖的模块
sensor.reset()#摄像头初始化
sensor.set_framesize(sensor.QVGA)#设置图像像素大小为QVGA 320x120

# 所有的画图函数使用相同的代码传递颜色参数。
# 所以我们只需要测试一个函数

while(True):

    # Test Draw Line (GRAYSCALE)
    sensor.set_pixformat(sensor.GRAYSCALE)#设置图像颜色格式为灰度图
    for i in range(10):#循环变量i从0到9,共计10个数循环
        img = sensor.snapshot()#每次循环截取一张图像
    for i in range(img.width()):#img.width=320(即QVGA图像格式的宽度),
    #所以从0到319循环
        c = ((i * 255) + (img.width()/2)) / img.width()
        img.draw_line((i, 0, i, img.height()-1), color = int(c))
        #画线函数img.draw_line((x0, y0, x1, y1), color=White),从(x0,y0)
        #到(x1,y1)画一条直线。如果是灰度图,color是0-255的一个数,0代表黑,
        #255代表白;如果是RGB图像,color是(r,g,b)的一个元组,r g b分别代表红绿蓝。
    sensor.snapshot()
    time.sleep_ms(1000)

    # Test Draw Line (RGB565)
    sensor.set_pixformat(sensor.RGB565)#设置图像颜色格式为rgb图
    for i in range(10):
        img = sensor.snapshot()
    for i in range(img.width()):
        c = ((i * 255) + (img.width()/2)) / img.width()
        img.draw_line((i, 0, i, img.height()-1), color = [int(c), 0, 0])
        #因为是rgb图,所以color = [int(c), 0, 0],而不是一个单纯的0-255的数字。
        #注意python的元组类型一定要用[ ]或者()括起来,否则会报错。
    sensor.snapshot()
    time.sleep_ms(1000)

    # Test Draw Line (RGB565)
    sensor.set_pixformat(sensor.RGB565)
    for i in range(10):
        img = sensor.snapshot()
    for i in range(img.width()):
        c = ((i * 255) + (img.width()/2)) / img.width()
        img.draw_line([i, 0, i, img.height()-1], color = [0, int(c), 0])
    sensor.snapshot()
    time.sleep_ms(1000)

    # Test Draw Line (RGB565)
    sensor.set_pixformat(sensor.RGB565)
    for i in range(10):
        img = sensor.snapshot()
    for i in range(img.width()):
        c = ((i * 255) + (img.width()/2)) / img.width()
        img.draw_line([i, 0, i, img.height()-1], color = [0, 0, int(c)])
    sensor.snapshot()
    time.sleep_ms(1000)
运行程序,发现灰、红、绿、蓝循环变色:

